Introduction
Hello, XR developers! 🌟 The world of Unity’s XR Interaction Toolkit is buzzing with the arrival of the new XR Hands package 🖐️. This package is a game-changer, offering an API for hand tracking data on devices like the Meta Quest and, potentially, Apple’s Vision Pro. Our focus today will be on using the OpenXR provider with the Meta Quest device. Let’s embark on this exciting journey!
Setting Up Your Unity Project
- Creating a New Project: Launch Unity 2022 LTS and start a new project. Choose the 3D URP template for the Universal Render Pipeline, name your project, and select a suitable location on your computer 🖥️.
- Configuring Build Settings: Navigate to ‘Build Settings’ and switch to the Android platform, which is necessary for running apps on the Meta Quest. Select ‘ASTC’ for texture compression, a format that offers superior visual quality and versatility 📱.
- Installing XR Plugin Management: This tool is essential for configuring settings for various XR providers. Install it from the Unity package manager, followed by the Open XR plugin. This step is crucial for accessing hand data later 🛠️.
Preparing for Hand Tracking
- Updating the Input System: Unity 2022 automatically updates the input system. If you’re using an older version, you might need to do this manually. This step ensures compatibility with the new hand tracking features 👐.
- Setting Interaction Profiles: Add interaction profiles for each platform you intend to use. For the Meta Quest 2, select the Oculus Touch Controller Profile under the Open XR settings 🎮.
Installing Necessary Packages
- XR Interaction Toolkit: Find and install this toolkit from the Unity Registry in the package manager. It’s the backbone of our hand tracking setup 📦.
- XR Hands Package: Install this package next. It includes the ‘Hand Visualiser’ prefab and other essential samples for hand tracking 👀.
Setting Up the Sample Scene
- Fixing Shader Issues: If you encounter pink shaders, convert the affected materials to URP. This step ensures that your visuals appear correctly in the Unity environment 🎨.
- Disabling Hand Menu Setup: Currently, the Hand Menu Setup feature might not work as expected. Temporarily disable it to avoid complications ⚠️.
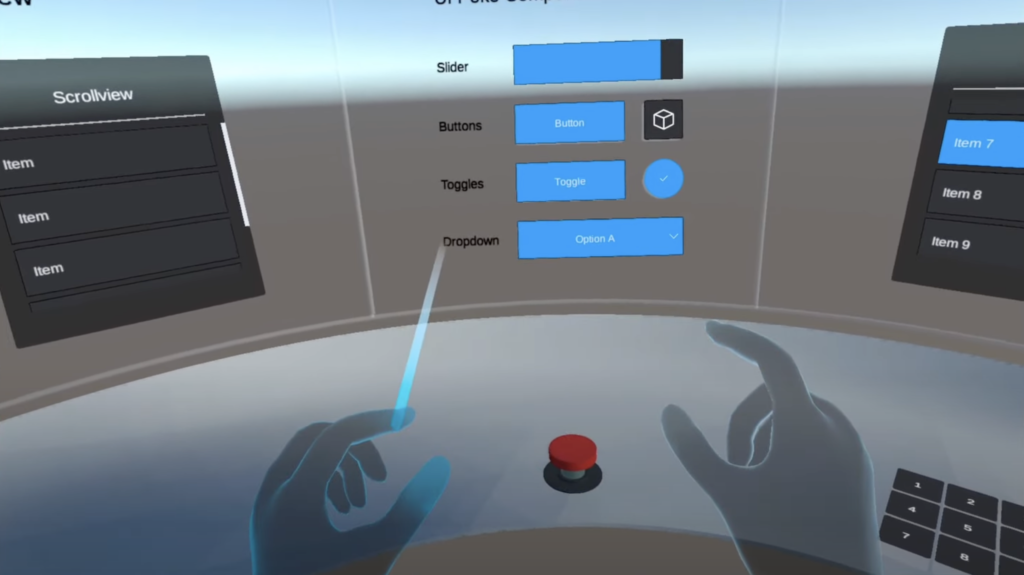
- Exploring XR Interaction Hands Setup: Familiarize yourself with the new components in the XR Interaction Toolkit, such as the XR Input Modality Manager, which helps switch between hands and controllers. Pay attention to components for gaze interaction and the stabilizing elements added to controllers and hand interactors 👀🔧.
Simplifying the Scene for Hand Interaction
- Creating a New XR Origin: Start by setting up a new ‘XR Origin’ with only the essential components for hand interaction. Focus on the ‘direct interactor’ for object manipulation 🛠️.
- Configuring Input Actions: Define and bind input actions for both hands and controllers. Ensure that the actions are intuitive and correspond to the expected interactions in your app 🎛️.
Final Touches and Testing
- Environment Setup: Add a plane to serve as the floor and a cube as an interactable object. Customize their appearance for a more engaging visual experience 🌈.
- Testing Hand Tracking: Experiment with the hand visualizer in the Unity editor. Interact with the cube using hand tracking to ensure everything is functioning correctly ✅.
Conclusion and Next Steps
You’ve now set up a basic hand-tracking application in Unity! This tutorial is just the beginning. We’ll explore more advanced topics like reading hand data, implementing locomotion with hand tracking, and dissecting the new features of the XR Interaction Toolkit in upcoming posts 🚀.
Join Our Community
Have questions or want to discuss XR development? Join our XR-developer community on Discord and engage with peers in this exciting field 💬.
Support Our Efforts
If you find our content helpful, consider supporting us on Patreon. Your contributions enable us to continue creating free, high-quality educational material 👍.
Thank you for following this tutorial. Stay tuned for more in-depth and insightful content in the realm of XR development! 🌐
Did this article help you out? Consider supporting me on Patreon or simply subscribe to my YouTube channel!